November 9, 2018 11:15 by
 Peter
PeterIn this article we will be seeing how to create Silverlight ImageBrush using Visual studio 2010.

ImageBrush is used to paint an area with the imagesource. The object contents can be made as an image using ImageBrush.
Namespace: System.Windows.Media
Assembly: System.Windows
Steps Involved:
Creating a Silverlight Application:
- Open Visual Studio 2010.
- Go to File => New => Project.
- Select Silverlight from the Installed templates and choose the Silverlight Application template.
- Enter the Name and choose the location.
- Click OK.
- In the New Silverlight Application wizard check the "Host the Silverlight Application in a new Web site".
- Click OK.
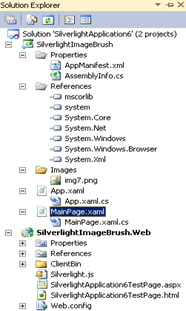
Adding an image in the solution:
Right click on the solution, select Add => New Folder.
Name the folder as Images and click OK.
Right click on the Images folder, select Add =>Existing Item.
Choose the image and click Ok.
Creating the UI:
Open MainPage.xaml file and replace the code with the following.
<UserControl x:Class="SilverlightImageBrush.MainPage"
xmlns="http://schemas.microsoft.com/winfx/2006/xaml/presentation"
xmlns:x="http://schemas.microsoft.com/winfx/2006/xaml"
xmlns:d="http://schemas.microsoft.com/expression/blend/2008"
xmlns:mc="http://schemas.openxmlformats.org/markup-compatibility/2006"
mc:Ignorable="d"
d:DesignHeight="300" d:DesignWidth="400">
<Canvas Height="200" Width="200" Background="White">
<Rectangle Canvas.Left="50" Canvas.Top="50" Height="100" Width="100" >
<Rectangle.Fill>
<ImageBrush ImageSource="/SilverlightApplication6;component/Images/img7.png"/>
</Rectangle.Fill>
</Rectangle>
</Canvas>
</UserControl>
Testing the solution:
Build the solution.
Hit ctrl+F5.
Rectangle control content is filled with an image.